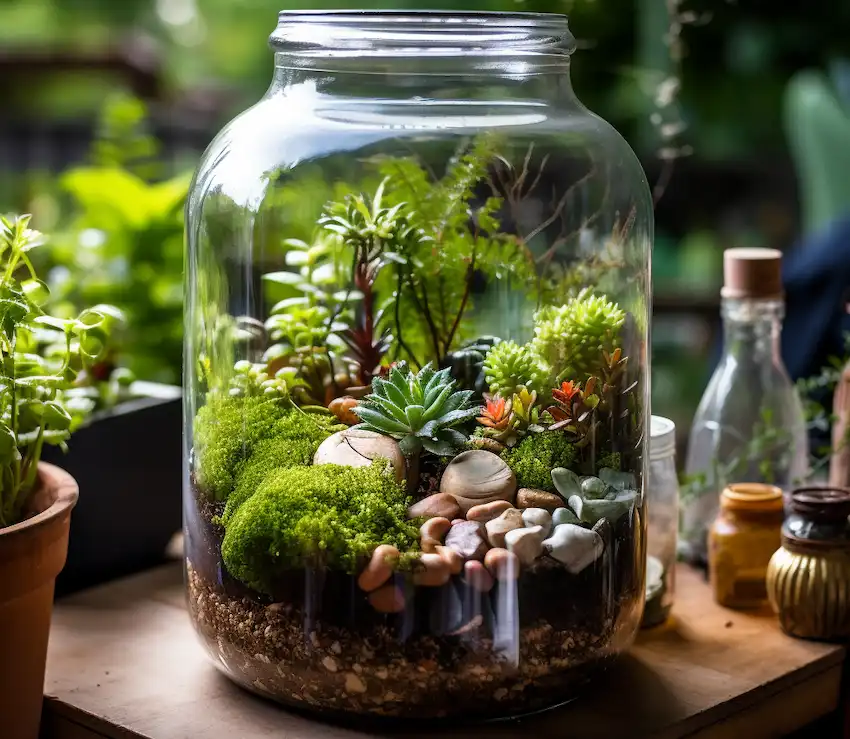

Crear un terrario no se trata solo de crear un paisaje en miniatura; se trata de encapsular un pequeño ecosistema que puede prosperar con un mantenimiento mínimo. Ya sea que esté buscando ecologizar su espacio interior o buscando un proyecto de bricolaje gratificante, construir su propio terrario es una opción fantástica. Aquí hay una guía detallada para ayudarlo a crear su propia obra de arte viva.

Paso 1: elige tu contenedor
La casa de su terrario puede ser cualquier contenedor de vidrio transparente. Las opciones incluyen:
- Jarras: frascos Mason, frascos de cocina o frascos viejos
- Jarrones: Cualquier florero de vidrio transparente
- Contenedores de terrario especialmente diseñados: Estos a menudo vienen con una tapa y están diseñados explícitamente para la fabricación de terrarios.
Tip: Ensure your container is clean and clear. Any residue or dirt can affect your plants’ health and obstruct your view of your tiny garden.
Step 2: Gather Your Materials
- Rocks or Pebbles: These will serve as the drainage layer.
- Activated Charcoal: This layer keeps the water fresh and prevents mold and bacteria from building up.
- Potting Soil: Choose soil suitable for the type of plants you are planting.
- Plants: Choose small plants that thrive in high humidity. Popular options include ferns, mosses, and air plants.
- Decorative Elements: Consider adding decorative rocks, figurines, or other elements for a personal touch.
- Tools: You might need some tools like tweezers or long spoons to place elements in your terrarium, especially if the opening is small.
Step 3: Create a Drainage Layer
Start by placing a 1-2 inch layer of rocks or pebbles at the bottom of your container. This layer will collect the water that drains from the soil, preventing your plants’ roots from sitting in water, which can cause rot.
Step 4: Add Activated Charcoal
Sprinkle a thin layer (about 1/2 inch) of activated charcoal over the rocks. The charcoal helps filter the water and keeps your terrarium’s environment clean and odor-free.
Step 5: Add Soil

Pour a layer of soil over the charcoal. The thickness of the soil layer will depend on the type of plants you’re using. Generally, a 2-3 inch layer is sufficient.
Tip: If you’re planting succulents or cacti, mix the soil with sand to improve drainage.
Step 6: Plant Your Plants
- Prepare the Plants: Remove your plants from their pots and gently shake off excess soil from the roots.
- Planting: Make a small hole in the soil, place your plant inside, and gently press the soil around it. If the container’s opening is narrow, you might need to use tools like tweezers or a long spoon.
- Design: Think about the layout. Taller plants should go in the back, and shorter plants in the front.
Step 7: Add Decorative Elements
Now’s the time to get creative. Add decorative rocks, wood, or figurines to your terrarium. These elements can create a theme or simply make your terrarium more visually appealing.
Step 8: Water Your Terrarium
Riegue suavemente su terrario, asegurando que el suelo esté húmedo pero no anegado. Las rocas en el fondo mantendrán el exceso de agua, evitando que sus plantas se mojen demasiado.
Consejo: Los terrarios requieren un riego mínimo. El espacio cerrado crea un ecosistema en miniatura donde el agua pasa por evaporación y condensación.
Paso 9: Encuentra el lugar perfecto
Coloque su terrario en un lugar donde recibirá luz solar indirecta. La luz solar directa puede calentar demasiado su terrario, dañando sus plantas.

Paso 10: mantén tu terrario
- Riego: Solo agua cuando el suelo se ve seco. Desaguazar es un error común.
- Poda: Ocasionalmente, es posible que necesite recortar sus plantas para evitar que crezcan demasiado.
- Limpieza: Mantenga el vidrio limpio para una visión clara de su mundo en miniatura.
Crear un terrario es como crear una obra de arte viva y respirable. Es un proceso relajante que no solo embellece su espacio sino que también lo conecta con la naturaleza. Disfrute del proceso y pronto tendrá un ecosistema próspero y autónomo en su sala de estar. ¡Feliz jardinería!
