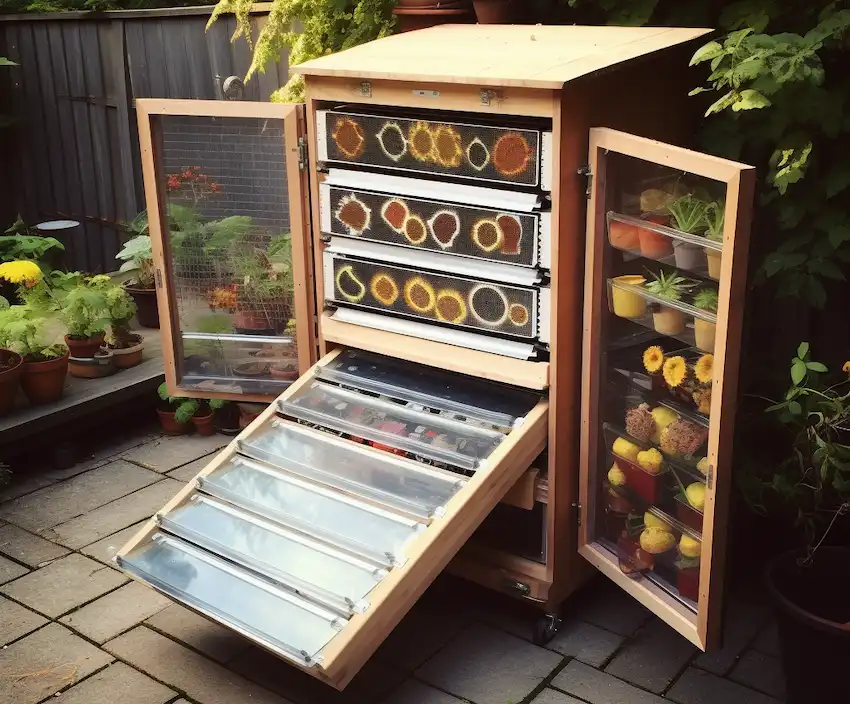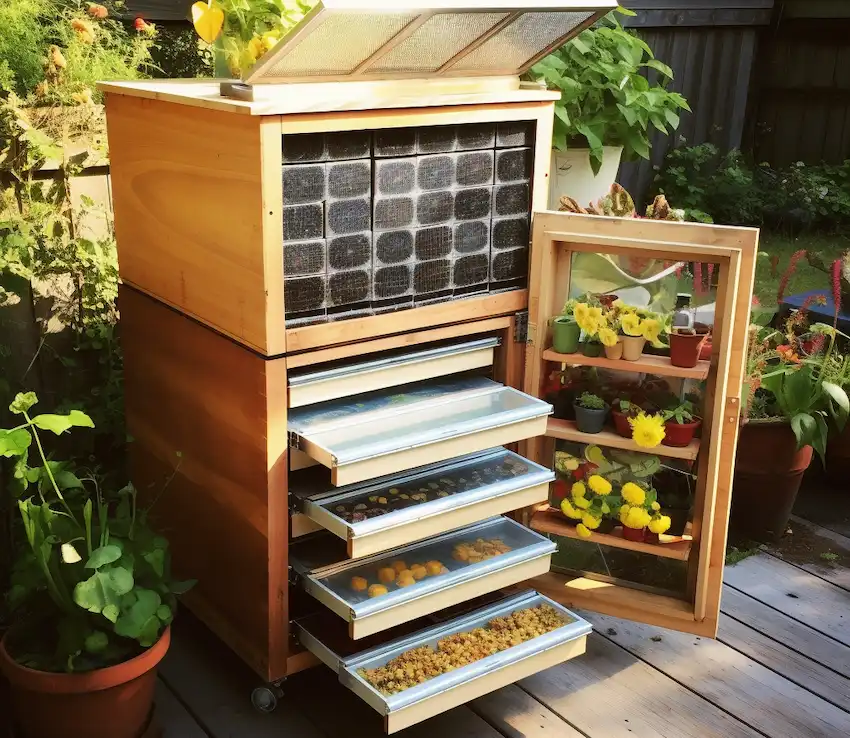

Un deshidratador solar es un método ecológico para preservar los alimentos. Al aprovechar la energía de las puestas de sol, puede secar frutas y verduras, conservando la mayoría de sus nutrientes sin el uso de electricidad. Aquí hay una guía paso a paso para hacer la suya.

Materiales Necesarios:
- Un viejo armario de cocina
- Pintura negra
- Vidrio transparente o plástico
- Malla para ventilación y protección contra insectos
- Herramientas para corte y fijación ( sierra, tornillos, taladro, etc.)
Pasos de Construcción:
- Preparar el Armario: Seleccione un armario de cocina antiguo que se pueda reutilizar. Retire las puertas para permitir la circulación de aire.
- Pintarlo Negro: Cubra el interior del armario con pintura negra. El negro absorbe el calor del sol, aumentando la temperatura interna del deshidratador.
- Shelving: Use shelves from an old fridge or create new ones to allow air to flow between the drying food.
- Cover with Glass: Fit the front of the cupboard with a clear glass or plastic pane. This lets the sunlight in while retaining heat.
- Ventilation: Make a meshed hole on the top to allow hot air to escape, promoting circulation. Also, drill small holes along the sides of the cupboard for air conduits.
- Heat Collector: On the bottom of the cupboard, create a meshed hole for air intake. This will be the heat collector, where the air warms up before rising through the dehydrator.
- Optimal Inclination: Angle the dehydrator so that it faces the sun directly. Avoid placing the heat collector in the shadow for maximum efficiency.
Using Your Solar Dehydrator:
- Prepare the Produce: Slice fruits and vegetables thinly for uniform drying. The correct cut depends on the type of vegetable or fruit.
- Load the Dehydrator: Spread the slices evenly on the shelves, ensuring they do not overlap.
- Dehydration Process: Allow the sun to heat the dehydrator throughout the day. Airflow will carry the moisture away, leaving behind dried produce.
- Monitoring: Check the progress occasionally. Depending on the temperature and the type of produce, dehydration can take a day or more.
- Storage: Once dried, store your fruits and vegetables in airtight containers in a cool, dark place.

Construir un deshidratador solar es una forma simple y sostenible de preservar los alimentos. Con algunos materiales básicos y un poco de tiempo, puede crear un dispositivo que le servirá durante muchas temporadas por venir. Disfruta de los frutos de tu trabajo, naturalmente preservados por el poder del sol.
